
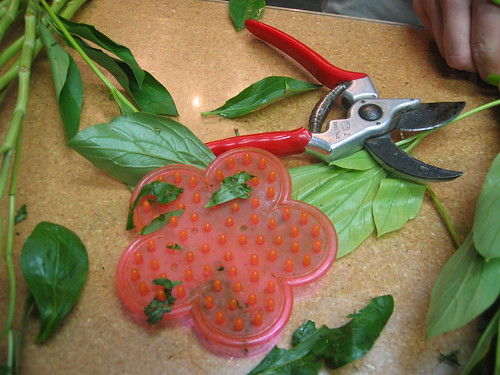
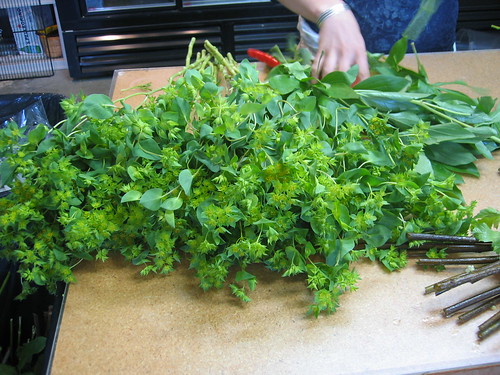
1. Processing flowers: Flowers are ordered from numerous countries around the world and are delivered to the studio in large boxes. They are packed either in 10 stem bunches or if they're roses, they will be packed 25 to a sleeve. Each flower will have to be stripped of its leaves and thorns, cut and placed immediately in water to hydrate, and then they will be ready to use. Depending on the type and number of flowers you're working with, processing can take anywhere from an hour to one or two days.

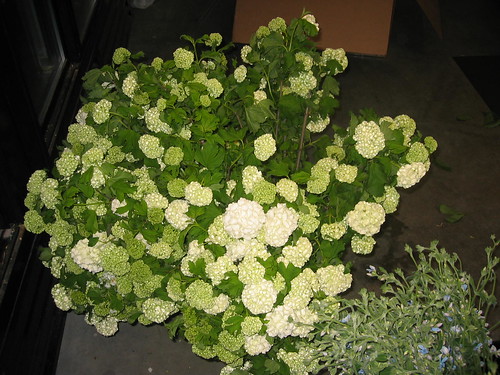
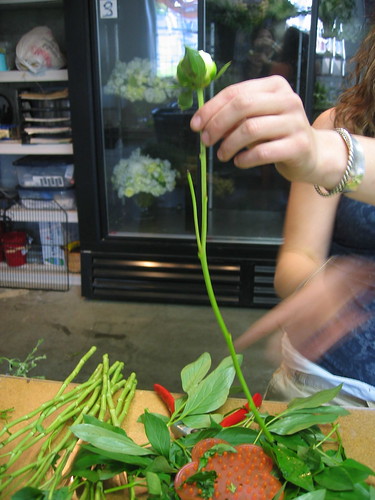
2. Selecting the flowers: For a bridal bouquet, you can only use the very best blossoms. I usually like to over order my flowers by about 5% to guarantee we'll have a great selection to go through when it's time to pick the bride's flowers.
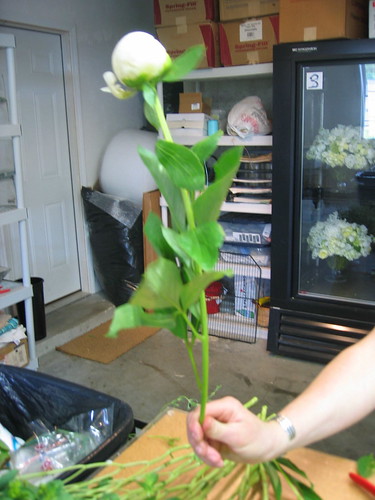
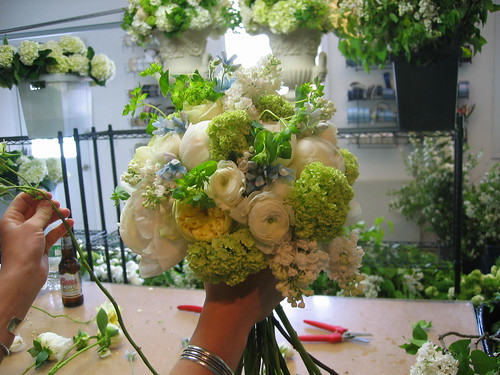
3. Creating the shape: Some bouquets are easier than others. If hydrangea is involved, it creates a base for the other flowers to be placed within. If you're using smaller blossoms- roses, tulips, lilacs, etc, they have to be individually placed to form a small cluster. Once you've gotten a base to work off of, you pick alternating types of flowers and place them around the bouquet in the open spaces, trying to keep the bouquet as evenly round as you can. Sometimes it's easier to wrap the bouquet in floral tape in multiple stages for better handling.
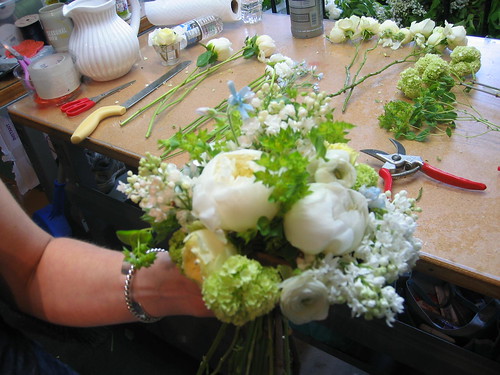

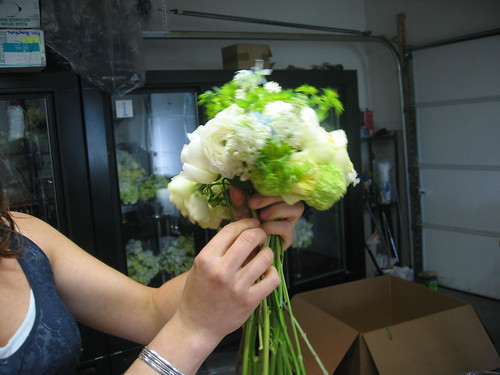
4. Completing the shape: Once you've used all the flowers you need, check the bouquet in a mirror to make sure it's completely round- or the shape you're trying to achieve. Sometimes I'll catch Kate Sauer- our floral designer- asking someone in the office to hold the bouquet to get an even better sense of its shape and size. If there's a gap somewhere, now is the time to fill it in with an additional flower.

5. Wrapping the bouquet: We like to use rubber bands first to get a nice tight grip on the stems. Next, we'll wrap in green floral tape to create the smooth surface the ribbon will cover. Finally, we will wrap the bouquet with ribbon, starting at the top of the stems and working our way to the bottom. We will always glue the end of the ribbon over and then attach it to the rest of the ribbon with pins. If there's a special ribbon embellishment- a ballet wrap or a simple overlay- we will attach that now as well.

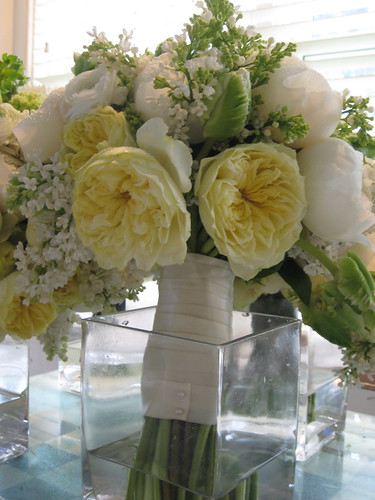
6. Spray-down, storage, and presentation: I might be a little over the top when it comes to spraying flowers with water, but it is a policy in my studio to constantly keep our flowers hydrated both from their stems being in fresh water and by spraying the flower blossoms themselves. We keep all of our personal flowers in the cooler in vases of water and present our brides with their bouquets still in water until the last minute to keep them as fresh as possible. We always bring a towel to dry the stems off before everyone walks down the aisle.
Kate Parker Flowers
Kate Parker Weddings


No comments:
Post a Comment