
We have SUCH a fun rehearsal dinner/welcome BBQ for this weekend's wedding! One of our DIY projects for the event was making 200 over-sized tissue paper flowers to fill mason jars down the length of 8' banquet tables. This project TOTALLY brought me back to my 7th grade semi-formal where we made 1000 tissue paper flowers and hung them from the ceiling of the gym to recreate a 1950's prom theme. What's slightly more comical is that three of my male music major college graduates made the flowers for me this week and we wanted to share with you how to make them!
1. Select your tissue paper colors. We went with a multi-colored theme of royal blue, orange, pink, and purple.
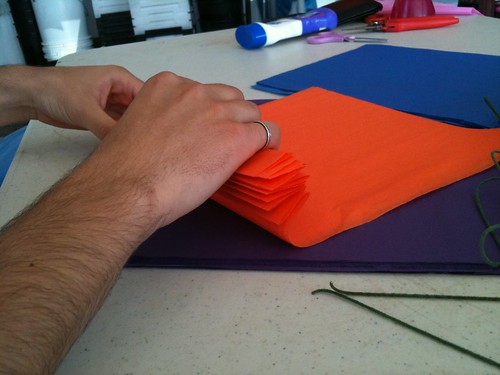
2. Decide on the size of your tissue flowers. We took a 20" x 36" tissue paper sheet and cut it down the middle, length wise, creating two 10" x 36" long strips of tissue paper.

3. Decide on the scale of your flowers. We used 5 sheets of tissue paper per flower.
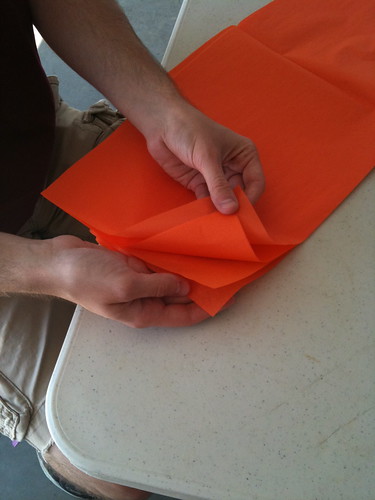
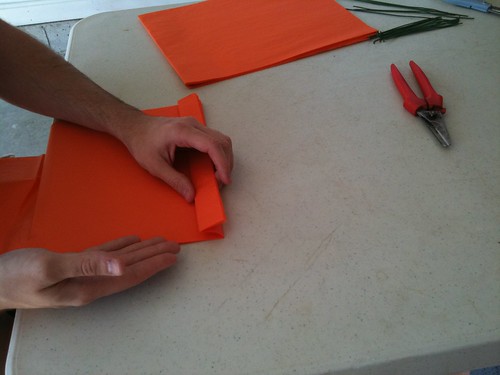
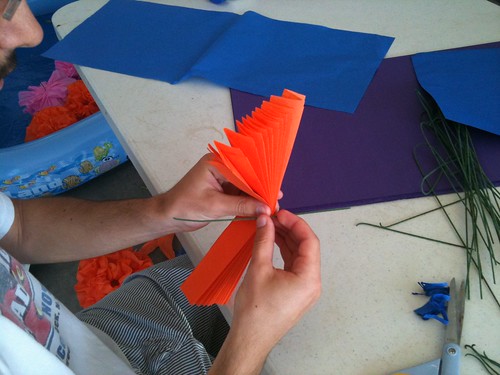
4. Fold the paper "petals". Folding back and forth, create a set of equal pleats down the entire length of your tissue paper strip.
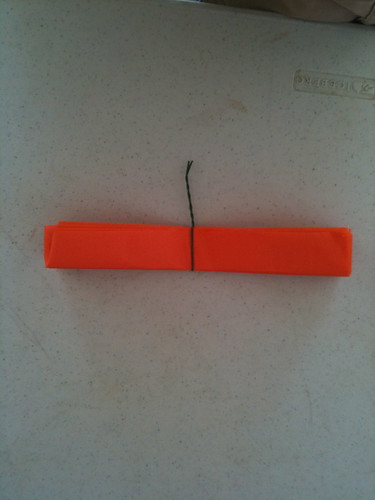
5. Cinch the pleated paper in the middle of the strip. Using a pipe cleaner, twist tie, or wire of any kind, grab the center of your pleated strip and twist your wire until it's tight and you have a clear center.
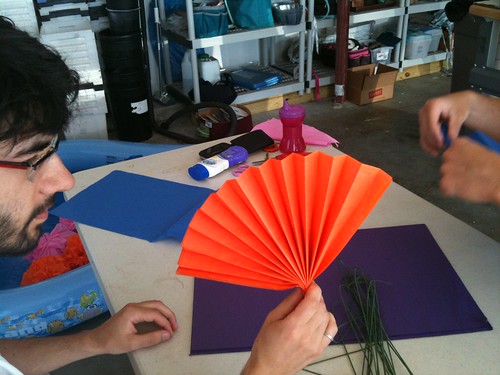
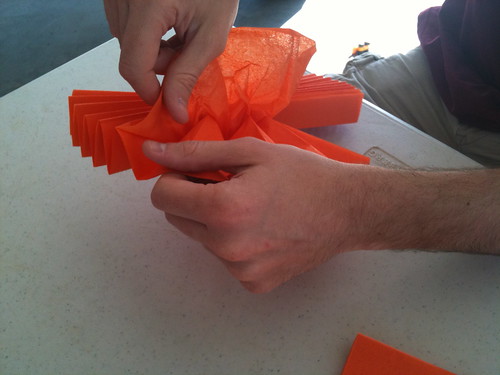
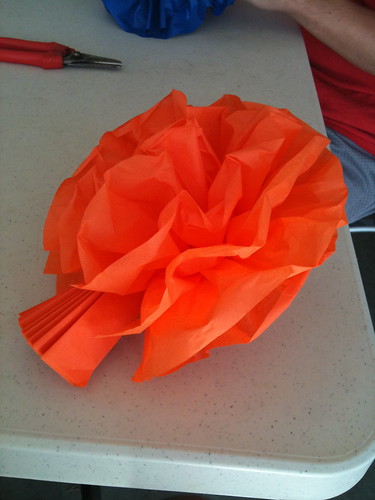
6. GENTLY unpleat each of your tissue paper sheets. Start on one side and work your way to the other side of the flower. Try to get the paper as open and separated as possible, especially as you get close to the wire twist in the middle of the flower. The more tissue you can open up the more full your flower will look.
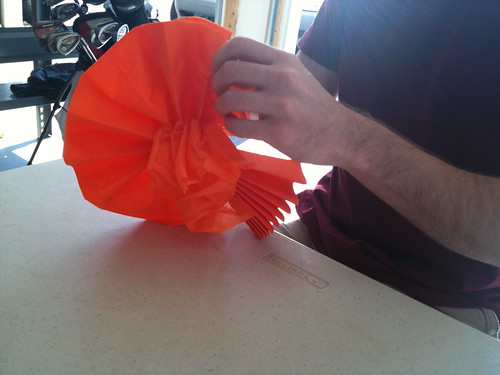
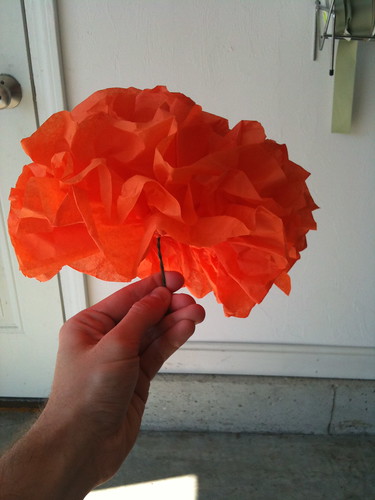
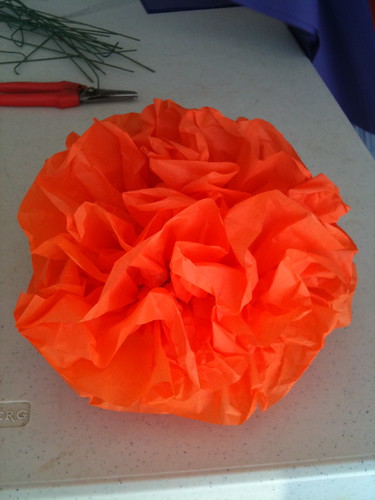
7. You have one completed tissue flower! You can add a stem using a pipe cleaner if you'd like, or make a full bouquet of these flowers! Enjoy the project!
KP
1. Select your tissue paper colors. We went with a multi-colored theme of royal blue, orange, pink, and purple.
2. Decide on the size of your tissue flowers. We took a 20" x 36" tissue paper sheet and cut it down the middle, length wise, creating two 10" x 36" long strips of tissue paper.
3. Decide on the scale of your flowers. We used 5 sheets of tissue paper per flower.
4. Fold the paper "petals". Folding back and forth, create a set of equal pleats down the entire length of your tissue paper strip.
5. Cinch the pleated paper in the middle of the strip. Using a pipe cleaner, twist tie, or wire of any kind, grab the center of your pleated strip and twist your wire until it's tight and you have a clear center.
6. GENTLY unpleat each of your tissue paper sheets. Start on one side and work your way to the other side of the flower. Try to get the paper as open and separated as possible, especially as you get close to the wire twist in the middle of the flower. The more tissue you can open up the more full your flower will look.
7. You have one completed tissue flower! You can add a stem using a pipe cleaner if you'd like, or make a full bouquet of these flowers! Enjoy the project!
KP


No comments:
Post a Comment